


How To Distress A Hat
Whether you love to spend the day shopping or avoid buying new clothes until it's absolutely necessary, there's no better feeling than finding the perfect piece that ties a look together. When you come across accessories or clothes that match your aesthetic to a T, it's always a victory. But when it comes to vintage and worn styles, not everyone wants something shiny and new.
Most of the hats available both online and in-person look too modern for the authentic retro-inspired styles that have become so popular in recent years. But there are ways to distress and age a new hat so it looks exactly how you want it to.
From how to fray a hat to how to make a hat look worn and the best hats for distressing, you'll learn everything you need to know about making your cap look well-loved and retro.
Table of Contents:
- Why Distress a New Hat?
- Hat Distressing Tips
- Hat Distressing Techniques
- Breaking in a Hat
- Fraying a Cap
- Best Hats to Distress
- Shop Hats by Style
Why Distress a New Hat?
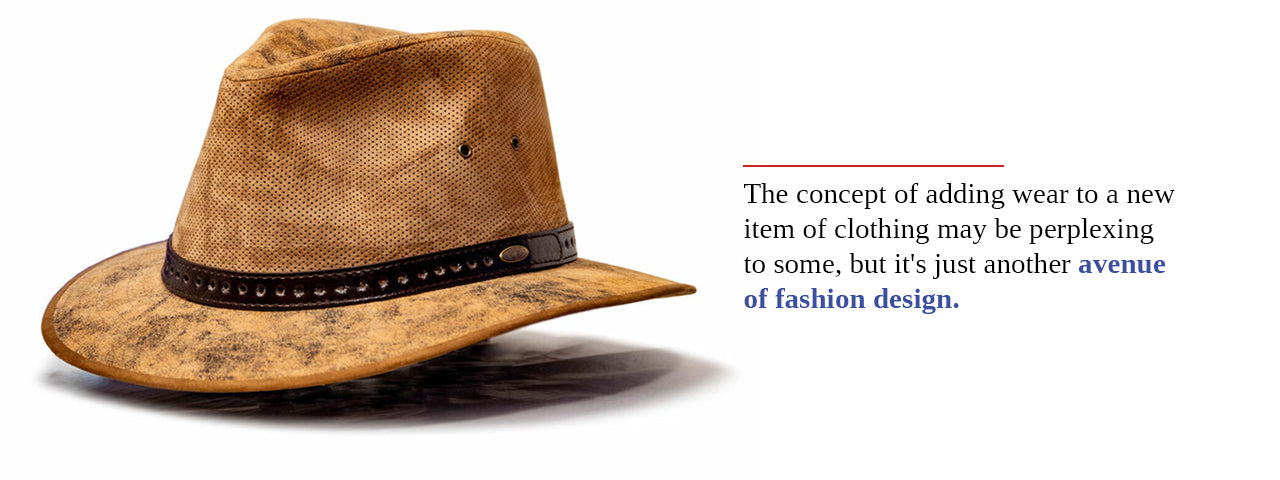
The concept of adding wear to a new item of clothing may be perplexing to some, but it's just another avenue of fashion design. The process of aging a hat is the equivalent of bleaching or cutting holes in a new pair of jeans. Many people like the worn look because it adds character and authenticity to their clothes and because it's impossible to achieve their desired aesthetic any other way.
For others, it's paying homage to vintage styles and designs that are otherwise unavailable. As vintage looks continue to make a comeback, retro enthusiasts are scrambling to recreate designs that reflect the fashions of eras past. Whether it's a bell-shaped cloche from the Roaring '20s or 1950's trilby, adding wear and fray will have people wondering whether you've just stepped out of a time machine.
Costume designers and cosplayers have also been perfecting distressing methods for decades to bring vintage designs to life. With a few scuffs here and a bit of discoloration, a brand new headpiece can appear to be straight out of the Victorian era or from a galaxy far, far away in space.
Tips for Distressing Hats
Before we move onto the first technique of distressing a hat, here are a few tips that will help you accurately get the end result you want with as few mistakes as possible:
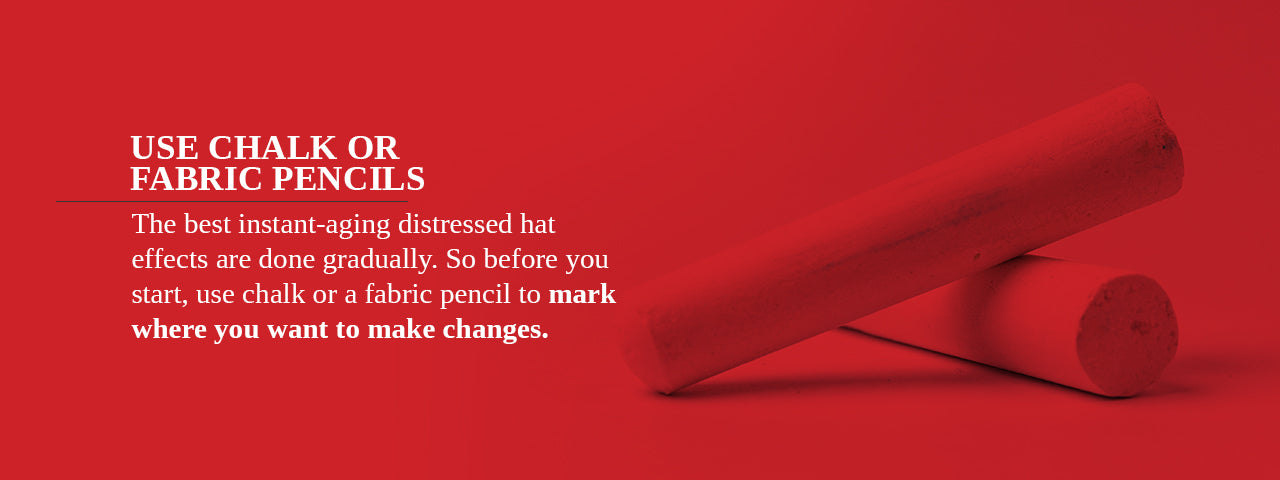
Use Chalk or Fabric Pencils
You don't want to distress a hat too much or all at once. The best instant-aging distressed hat effects are done gradually. So before you start, use chalk or a fabric pencil to mark where you want to make changes. If you still feel like your hat can do with a few more marks and frays, then slowly add to the hat until you have the desired final product.
Think About the Small Details
Nothing disrupts the illusion of a worn look like a large piece of fabric that you forgot to distress. The rest of your cowboy hat can scream "rugged rider," but the squeaky clean underbrim is a dead giveaway that this hat came right out of the box. Make sure you inspect every nook and cranny of your headpiece to create an even and realistic distressed style.
Another great reference point to guide your hat transformation is thinking about how your hat would be held and handled if it were used for a significant period of time. How and where would you hold it? How would it be stored? There would be more wear and fraying along a snapback, strings and straps than on the top of most hats.
Do a Patch Test First
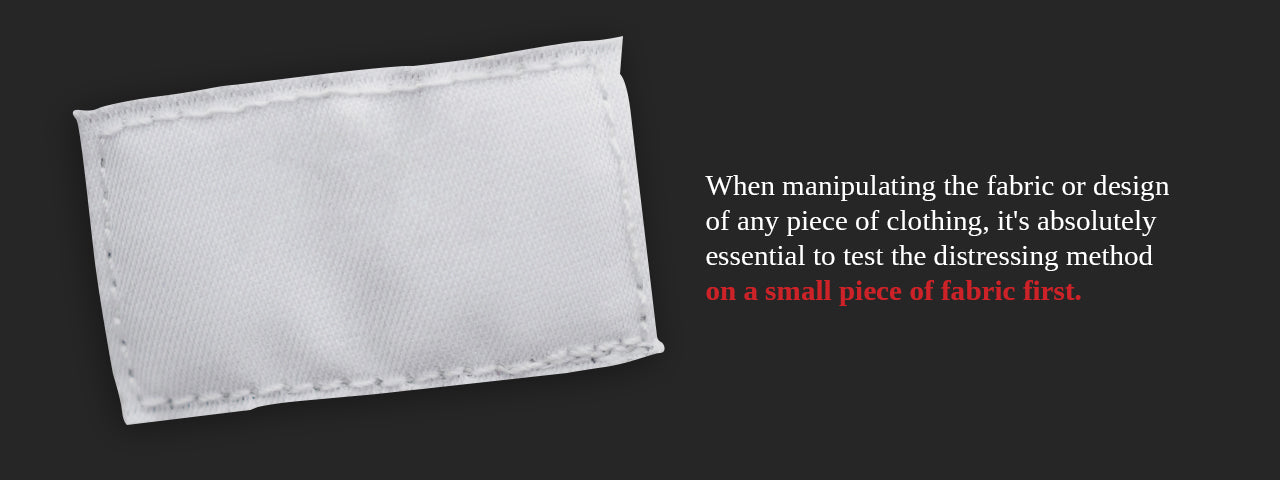
When manipulating the fabric or design of any piece of clothing, it's absolutely essential to test the distressing method on a small piece of fabric first. While you may think one technique will deliver the right results, you could end up disappointed with the end product because it didn't have the same effect you envisioned. For example, scissors can cut and fray fabric, but a razor may better fit your specific needs.
Testing your intended distressing technique only takes a few minutes and will lead you in the right direction.
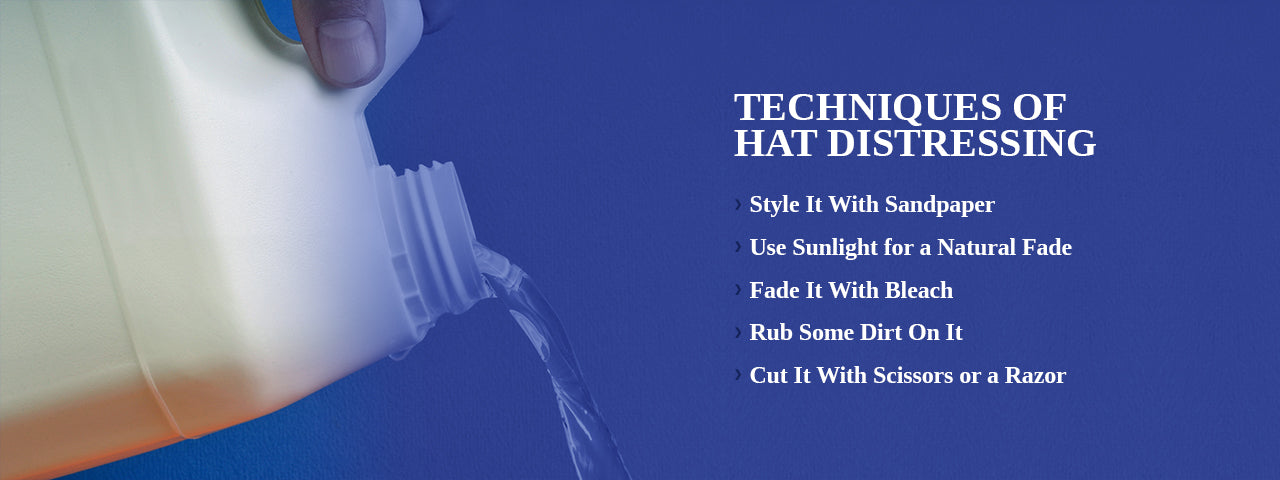
Techniques of Hat Distressing
If you love the distressed look but the specific hat you want only comes new, you can distress it yourself. There are several ways to give a new hat a worn-out look, but the method you use will depend on what kind of hat you are working with. This is because many styles are made with different materials like cotton, wool and straw. In these examples, we'll go over the different distressing methods for various types of hats so you can style any hat like a pro.
Now that you've got your hat in hand, it's time to learn the best ways to create worn looks for any type of headpiece.
1. Style It With Sandpaper
Sandpaper is one of the most common tools used to create the perfect worn-out look.
The grit number displayed on the sandpaper relates to the size of abrasive materials on the paper. So higher grit numbers will create smoother finishes. Since you are working with fabric, not wood, you will need to use a lower grit number. Sandpaper is inexpensive, so we recommend you try out different grits on the fabric to see which one delivers the right effect. A medium grit, between 80 to 120, is a safe place to start.
Simply run a sandpaper sheet across the brim and edges of the hat until you are satisfied with how it looks. It's best to start with a higher grit sandpaper and switch to a finer grit as you are wearing down the fabric.
Sandpaper is great for making a hat look naturally worn down, like you have had it for years.
2. Use Sunlight for a Natural Fade
This method is not for those looking for a quick aging solution. Sunlight offers the perfect and most natural fade you can achieve. Think about it — genuinely vintage or lightly used hats have been exposed to sunlight and all of Mother Nature's elements. Their appearance matches their authenticity because they were worn in all kinds of weather conditions. Not to mention, this distressed hat trick comes free of charge.
Simply set your hat on a window ledge that gets a lot of sun exposure or place it directly outside. Over the course of a few weeks, the hat will slowly change color to a faded tone. Just make sure you turn it every few days so every side from the brim to the crown is evenly colored.
3. Fade It With Bleach
If you're looking to instant age a hat, the fastest way to get the job done is with bleach. When working with a strong chemical, and bleach specifically, it's important to take your time and every precaution to make sure you get it right the first time. While every method of distressing a hat causes permanent wear, most of them are done gradually and at your own discretion. But bleach works almost instantaneously and changes the color and integrity of the fabric.
A splattered bleach look is a popular style that always makes its way back into the forefront of modern fashion trends. To get the same effect on your hat, start by laying down a tarp and mixing a quarter cup of bleach with two cups of warm water. Then, transfer the mixture into a spray bottle or use a paintbrush to spray the bleach onto the hat. Continue spraying until the hat is wet but not dripping.
Wait for the hat to change to the color you want, and then immediately rinse it with cold running water. Be as thorough as you can when rinsing because any lingering bleach will continue to change the hat or create white spots. Leave the hat outside to air dry while you clean up.
If you decide to use bleach, remember to wear gloves and a smock or clothing that you don't mind getting bleach on, just in case. Any chemical method should be performed in a well-ventilated area, as well. If you get any bleach on your skin, wash the exposed area immediately.
This method is best used on cotton hats. If your hat is made of wool or has accents made out of silk or wood, you should not use bleach on it. Be sure to spot-test your hat in a discreet area, as well. Bleach has different effects on different colors, so you should ensure the results are what you want for your hat.
4. Rub Some Dirt On It
Dirt, sand or gravel — it all does the same thing! Sometimes it's the simplest methods that do the most work. Just like the sunlight technique, nothing ages a hat quite like the real thing. Baseball hats, cowboy hats, bucket hats and Mao caps just don't look complete without a layer of dirt, and there are a few ways that you can do it.
Whether you're wondering how to distress a cowboy hat or another outdoorsy cap, take it outside. The first option is to just roll it on or hit it against the ground for a few minutes. Or you can gently rub some streaks randomly on the fabric to create an aged look. If you want dents and some fraying on the hat, gravel provides the perfect surface. For a heavily used, gritty appearance, you can use darker materials such as rust, ash or motor grease.
Let the dirt or other materials sit on the hat for a while to ensure stains develop, especially if you tend to clean your hats frequently.
5. Cut It With Scissors or a Razor
If you want to add holes or slices, you can't go wrong with a pair of scissors. Keep in mind that hats and caps made out of cotton will fray when cut. This means any holes or cuts you make may get bigger over time.
The best strategy is not to cut a hole the size you want it to be. Make it smaller so it won't get too big. If you don't mind a cleaner look for the hole or cut you make, you can secure the edges with a clear fabric glue to prevent fraying.
Breaking in a Hat
There's one undeniable fact when it comes to shopping for hats — no matter the size or the style, every hat needs to be broken in. Since your head is unique in its size and shape, a brand new hat won't quite fit right at first. If you prefer a used or vintage style, you want your hat to look like you've been wearing it for years, and breaking it in will help.
There are a few different ways to break in a hat. However, the type of fabric that the hat is made from will determine how it should be broken in. You don't want to end up damaging the material or shape so the hat becomes unusable. These techniques will show you how to create worn looks for different types of hats so you can confidently step out wearing your new favorite headpiece.

Breaking in a Baseball Hat
Baseball caps are nationally beloved for their casual style and versatility. They are cost-effective and easy to personalize, which is why most people break them in and distress them according to their individual taste. Whether you prefer a snapback or Flexfit, the process of bending the bill to your preferred shape is the same. Consider these methods:
1. Use Hot Water
Although it may sound odd, one way to break in a hat quickly without compromising the fabric is to wear it in the shower. As the water and heat make the crown and bill malleable, use your hands to shape it how you want it to look. Set the hat aside to air dry, and there will be a noticeable difference. You might have to repeat the process a few times before the shape stays in place for good.
You can also stick the bill in a cup of hot water for ten minutes. Then carefully bend it into the desired shape.
2. Use an Elastic Band
An effortless overnight method requires a rubber band. All you have to do is bend the bill to the shape you want it to be, and wrap a rubber band around it. Leave the cap to sit overnight, and in the morning, your hat will be ready to wear!
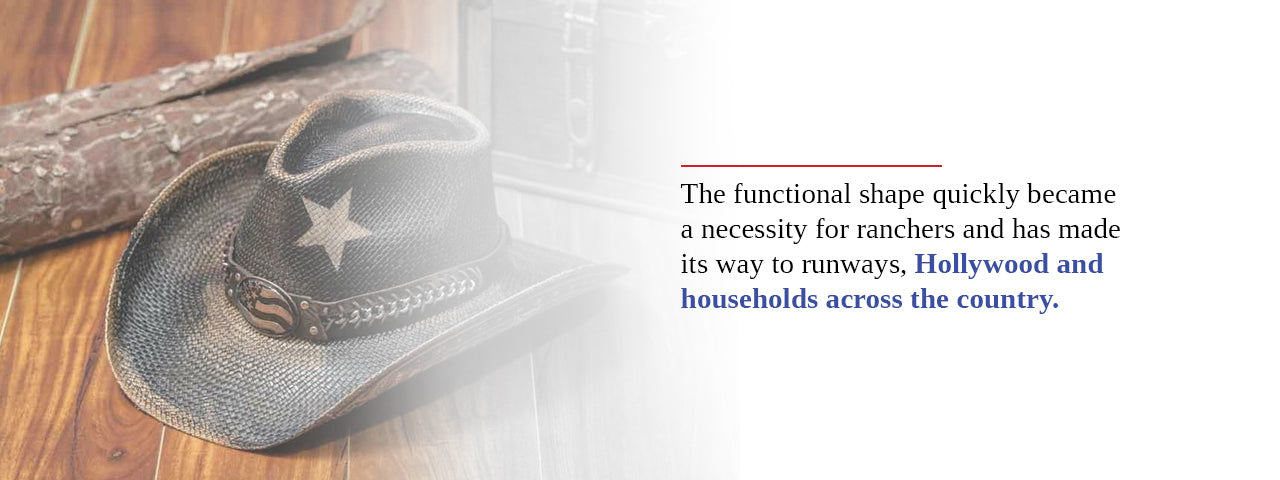
Breaking in a Cowboy Hat
The cowboy hat — synonymous with Western American culture, this type of hat is one of the most iconic styles in the world. The functional shape quickly became a necessity for ranchers and has made its way to runways, Hollywood and households across the country. They are known for their resiliency and durability, but this makes them especially difficult to shape. If you have just purchased a new cowboy hat and it doesn't quite fit the right way, here's how to break it in.
Start by filling your kitchen sink with hot water. The water should be hot enough to soften the structure of the hat but not so hot that it burns your skin. Soak a washcloth in the hot water for approximately 20 seconds. Wring it out once and then use the washcloth to wet the inside brim along the inner liner, squeezing the water evenly around the brim.
Continue repeating this process until the hat feels soft, then place it on your head so it fits comfortably. Now all you have to do is wear the hat for at least six hours so it dries in the right position.
One Note: Be careful when using this method when it comes to straw cowboy hats as completely submerging them may leave your hat limp and completely out of shape afterwards.
Fraying a Cap
Fraying baseball caps is the perfect way to make them look well-loved and worn. You can use several tools to attain the desired result, including scissors, a seam ripper and a cheese grater.
To make the fraying look as genuine as possible, start by distressing the brim with a piece of sandpaper. Then use a pair of scissors or a seam ripper to cut through a bit of the top-stitching to expose the threads. Just rub the undone threads together with your fingers to make them fray out.
You can also use a cheese grater, rubbing it in any direction to exaggerate snags, frays and rips.
Best Hats to Distress
When it comes to aging hats, one size doesn't fit all. Every style and material reacts to distressing methods differently, so one method that works on one material will not necessarily work for the next. And the last thing you want to do is ruin a brand new hat in your pursuit of creating the perfect worn look.
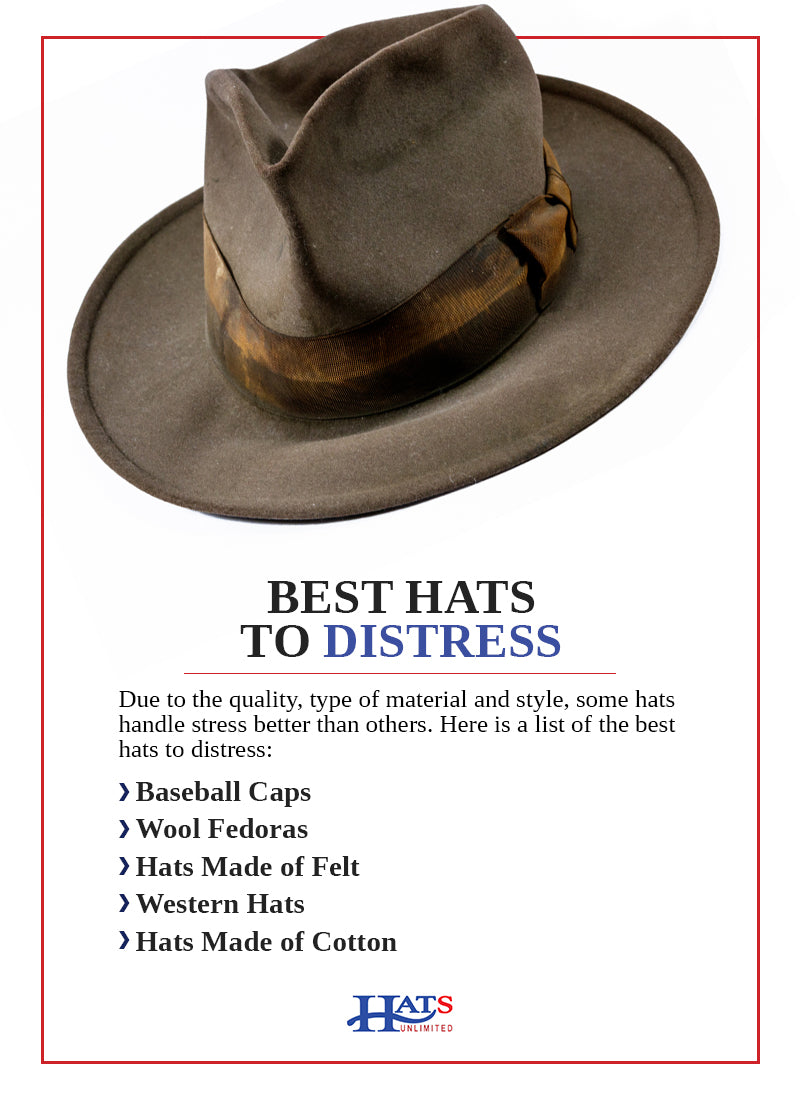
With that said, there are some hats that simply can't or shouldn't be subjected to this type of alteration. Due to the quality, type of material and style, some hats handle stress better than others. Here is a list of the best hats to distress:
1. Baseball Caps
When it comes to the distressing of hats, it's no surprise that baseball caps are the MVP. They are usually made of cotton, which is easily manipulated by heat and water. Just wearing one on a semi-regular basis will lead to it forming nicely to your head and wearing down from the sun, dirt and wind.
2. Wool Fedoras
Love them or hate them, fedoras have made their mark on American history and the fashion industry. Whether you're attending a formal affair or going to a costume party, a fedora instantly adds character and personality to any look. To fray a fedora, all you have to do is rub a cheese grater across the crown and brim. Just make sure you use light pressure so the fabric looks gently used.
3. Hats Made of Felt
There are many types of hats that can be made from felt, including stampede hats, bucket hats, derby hats and top hats. All of these styles can be made to look worn-out with sandpaper. Keep in mind that felt is softer than cotton, so the fabric will fray faster and with less effort.
4. Western Hats
Typically made from straw, felt or leather, cowboy hats come in a variety of shapes and sizes. The iconic crown and brim are meant to withstand rain, dirt and sweat, but over time, the shape is likely to change in one way or another. A western hat should fit comfortably and securely on your head so it doesn't come off during adverse weather conditions. This means most cowboy hats are made with the user in mind so they can easily be shaped to suit your needs, style and head.
5. Hats Made of Cotton
Generally, any hat made of cotton or a cotton-polyester blend can be transformed into a visually authentic vintage accessory. Many styles include cotton-based options because they are easy on the wallet and super comfortable to wear. Using sandpaper, scissors or a razor, you can add personality and wear to bucket hats, newsboy caps and sun hats.
Find Your Perfect Match at Hats Unlimited
Can't seem to find the right hat to fit your unique style? Hats Unlimited is here to help. With over 1,000 styles available online and 10,000 hats in stock at all of our retail locations, Hats Unlimited is the premier marketplace for finding your newest head accessory.
From classic vintage styles like fedoras and fascinators to quirky and fun novelty hats, we're proud to feature every style, shape and trend so you never have to compromise on your preference. If you're still looking for the perfect hat to fit your unique tastes, check out our Ultimate Hat Guide.
Shop our hats by style online or visit us in person at one of our many retail locations today!